Video Transcript
[MUSIC PLAYING] - All right. Hello, and good morning. Today, we're going to be replacing a customer's patio door in the back. It's a ProVia Endure sliding patio door. We want to get a shot of the front real quick.
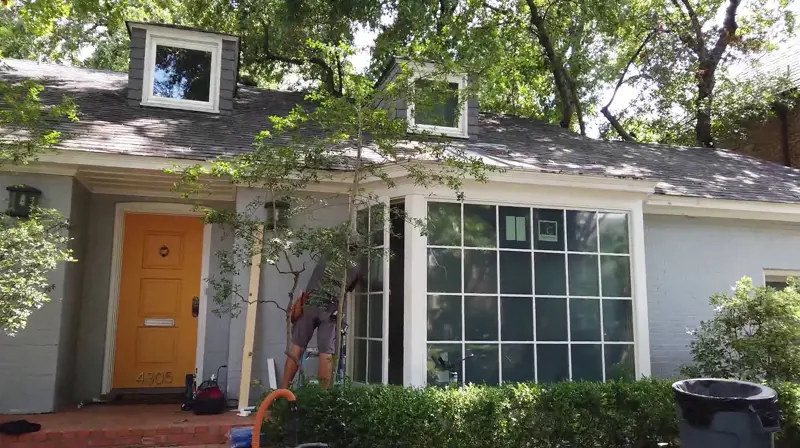
This is a-- we replaced the front door about 2 and 1/2 years ago. Just a normal hinged entry door. We also did a door in the back.
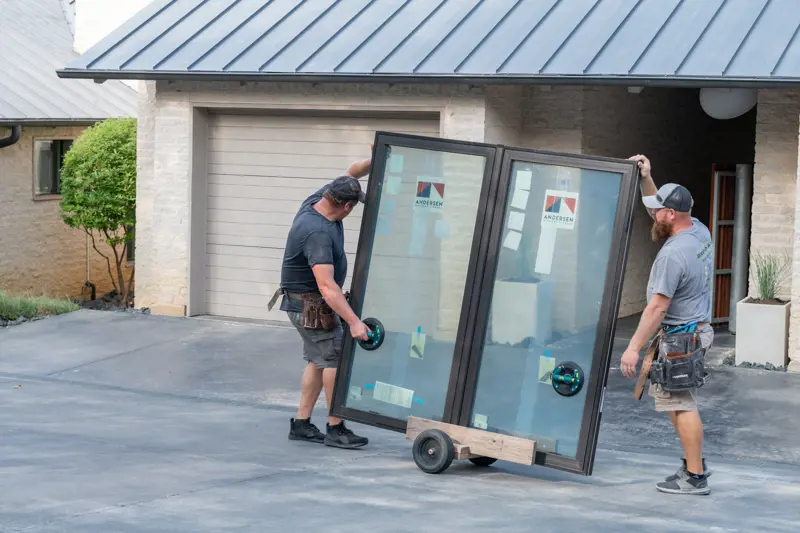
OK. So here, we'll just get a quick shot of the door. In our previous video, we talked about how ProVia takes care of their product when they ship it. They wrap it and make sure it's well protected. And this is another clear example of how well protected the door is.
[MUSIC PLAYING]
All right. So the door is in. Again, this is ProVia Endure patio door. So some of the things I'd like to point out-- first off, it's a very high quality door. I don't exactly know what they did or are doing with the rollers, but it's very simple to operate. And over here, you can-- up here, you can see the interlock. And this interlocks with the stationary panel. Forms a nice, tight seal.
The other thing we'll mention is the top hung screen. So this screen is supported by rollers up here that roll on the track at the top of the door. So it's very easy to operate. Very smooth.
One thing I see all the time with sliding doors is the screens are real janky. They get jammed up. And a lot of times, or most often, it's because the screen rolls on rollers in the bottom of the door. Bottom of the door is where everything drains. It gets real dirty. The rollers get gummed up.
And the screens by themselves are not necessarily as high of a quality as the door components. And so they just become a problem to open and close. This one is really, really smooth. Nice and easy. It should never really get dirty, the rollers, because they're up here at the top. So that's one thing that kind of sets this door apart.
The screen hardware itself, when you close the screen, it's kind of like a door latch. Now it's closed. You're going to have to push this little latch down in order to unlock it and open the screen. So that about covers it for the exterior.
So something else I'd like to point out is this kind of lever lock. It almost looks like a ratchet. So here's the lever lock. Up is the unlocked position. Down is the locked position. So if we go up here to this. It's almost like a rack on a rack and pinion, or like a ratchet kind of system.
So when you throw that bolt-- or this lever down here, there's a bolt that shoots up. So if you try to open the door, it gets caught on here. The door is locked. You can't open it any further. But if we unlock it, retract the bolt, you can open the door all the way. And now, if I lower the bolt and we close it, you can hear it hitting these. And now it's locked there.
So here, we'll lock the lever. Throw it in the locked position. Actually, we'll unlock it. Open the door. Now we'll throw it in the locked position. And we'll just go past this first ratchet here. So now the door is locked even though it's open. It's ventilated.
So on a nice weather day, you can close the screen and leave your door open. And it's still locked. And so that's one of the features that comes with that lever lock system on the side of the door.
So I'd also like to point out the lever lock handle. I mean, it's your standard typical lever lock. Now the door's locked so I'll unlock it. I just wanted to show it's a multipoint lock, right? So when you lock it, there's actually two locking mechanisms that go into the door.
[MUSIC PLAYING]


