Video Transcript
Hello, and welcome to this edition of Brennan Enterprises. Today, we're going to be going over a pretty unique project. It's a lake house out here in Lake Worth, and as you can see, the home is stucco facade home, and we're using a Milgard guard product, which has what's called a Z-bar insulation flange.
Some people will call it a jump frame or an insert window, and we primarily use the bar installation method for homes and stucco, and it's a unique method. Milgard and only a handful of other companies use this type of method for insulation, and we'll discuss how it's used and the advantages to using this method, especially with stucco homes. So from there, we'll go take a look.
OK, so this is a Milgard Trinsic sliding patio door, again, installed with the Z-bar insulation flange. So this is actually a new product from MIlgard. Great looking product. It's got the bronze painted exterior white interior. This is an exterior profile.
So there's that. We'll go up get-- here some detail, the exterior handle. Again, since this is a painted bronze product, it's got this black exterior handle. Let's take a look inside. And so this is an interior shot of the door.
Beautiful lake in the background. And this would be the interior handle. This is their contemporary interior handle, and then it's just has a normal lever lock. So yeah, that's the Trinsic door. All right, so what is a Z-bar window?
This happens to be a horizontal slider that I got here, and so this flange you see here-- If you'll come over here, we can maybe make that a little more apparent. This flange here is what we call the Z-bar, and you can see it sticks out past the actual frame of the window itself almost like a brick mold, even though, although this is like a flat profile instead of a normal brick mold.
And so some people will call this a jump frame or an insert frame, and we like to use these on stucco install projects. And we'll show a complete window install. So what we do for a stucco install, we remove all of the sashes in the glass, but we leave the existing window frame.
We don't pull the frame, because when you pull the frame, the existing new construction window, it'll have a nail flange it sticks out here. And that nail flange acts as a water barrier. So on brick or siding homes, if you pull the frame, because of the cavity between the interior wall and the exterior veneer, you still have that cavity and you can still have water drain out through the home.
If any water does get between or behind the exterior veneer, you can solve water drain out to the exterior of the home. You don't need to be concerned about water infiltration issues. Even if you pull the existing window frame and you destroy that water barrier from the new construction nail flange. On stucco, it's a little different.
We found in the past that, if you pulled frames, you're opening up the door for water infiltration issues. I can almost guarantee you, if you have a stucco home and you pull your existing window frames, you're going to have water leaks. So actually, any stucco home that we run into, this is the only method we'll use to install replacement windows. We will not pull window frames just because you're opening the door for water leaks.
So that's the way we do it. And so it'll be more apparent when we shoot video of an install, but basically, this window, again, they're commonly referred to as a jump frame. The existing window frame will sit up against this part right here, and then it's covered on the exterior by this what they call Z-bar, and then on the interior of the home, we'll trim it out, it'll look nice and clean, and you won't be able to tell it's a replacement window.
So that's the Z-bar window in a nutshell. We'll get video of us replacing one or installing one, and hopefully, then, it'll be a little more clear or apparent exactly what the Z-bar process is like. So here, we've actually got two examples of some windows, where it's pretty clear to see the Insert frame or the jump frame Z-bar installation.
So you can see right here the original silver metal frame. Here are some screws are going through the window frame into the framing of the home. So yeah, you can see the frame jumps the original frame here. And we'll go back and we'll cover this gap with some trim. Clean it up, make it look nice. Same thing over here.
The jump frame, it's pretty clear example of how it's done. Basically, the window's installed inside of another window frame. And we can actually go outside and take a look. Hello, puppies.
So yeah, these actually aren't even in stucco. These are in metal, but it was the same installation method used. And here's another sliding door we did. This one has a screen on it. Again, this one was done with the Z-bar installation method. OK, so this video, as you can see, has been sped up quite a bit, but we'll just kind of go through the process from start to finish.
So the first step for the Z-bar installation method is to remove the existing windows and glass. So that's what we're doing here. These windows were quite old, and so removing the glass was pretty tricky without breaking it. So we use a blowtorch and basically putty knife to pry it out and loosen the existing glazing and try to take the whole thing out in one piece, because breaking it is quite messy, it can be dangerous, and it ends up actually just taking longer, breaking the glass versus trying to remove the glass all in one piece.
So after we remove the glass and we remove the window sashes, which you can see we're doing here, those can be removed without having to remove the glass. You just remove the sash and then we remove the framing in between the windows and then clean up the edges of the frame, which you can see we're doing here to make a nice clean edge all the way around the perimeter of the window. And that's really all the prep that goes into installing a Z-bar window.
All right, so now, the opening is prepped. You can see they've been removing that glass and everything this whole time. But the original window frame is still in. You can see here. See it right here.
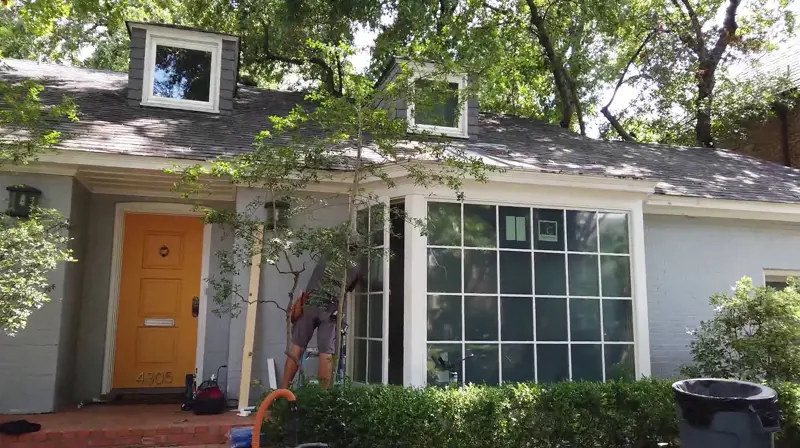
Original frame is still in, and the new bar window is going to fit right in that opening over the existing frame. OK, so now, we're about to do the big mamma jamma. It's going up in this opening here. As you can see, the opening is not straight vertical, it extends out and sits at an angle, so getting a window and there's going to be a little tricky.
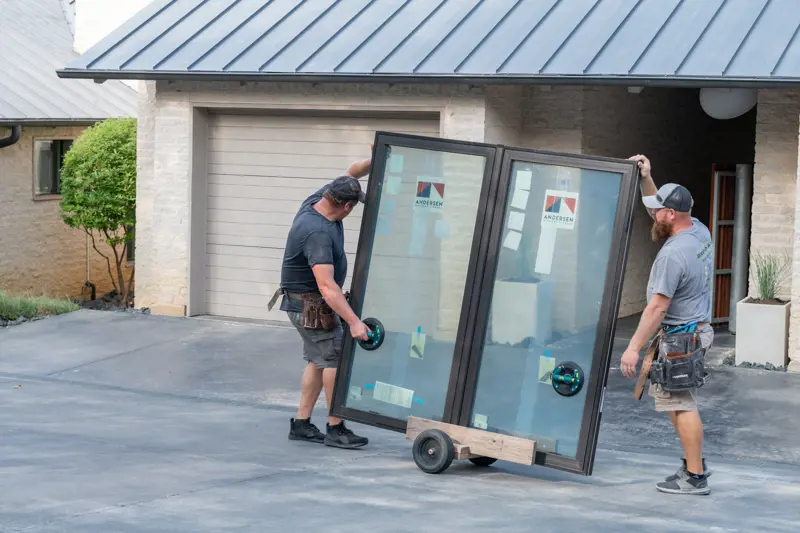
This is also going to be a large picture window. It's got quarter inch over quarter inch tempered glass. The whole thing weighs about 205-210 pounds, something like that. It's going to be very heavy. Very heavy, very awkward thing to carry up a ladder, so we've actually got a winch.
This little red thing here dangling here is a winch rated for 1,000 pounds. We've got this cable anchored to the top of the ladder. We'll be winching that window up. OK, so this part was pretty loud and chaotic, so I just cut the audio.
We'll do this voiceover here. Essentially, what Pete is doing-- that's the guy on the ladder-- is he's just operating that winch. It's a hand-operated winch. That red thing he's got his hand on there, which essentially just is reeling in the cable and lifting that window up, and he's just walking in that window up the ladder. And so again, that full window unit weighs about 210 pounds, but he makes it look pretty effortless.
Just walking that thing up. So definitely a time saver and a work saver, if you will. Think smarter, not harder, as the saying goes.
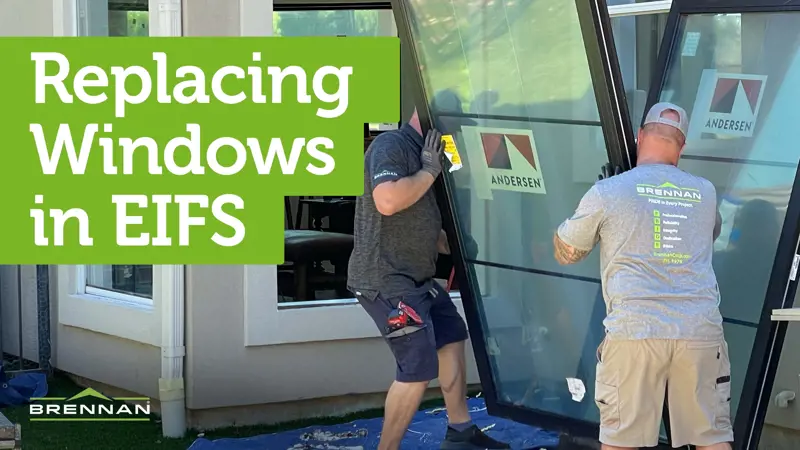
OK, and in this part, this part has been sped up as well, as you can see, and this is essentially-- it's pretty much all hands on deck. Pete was on the outside pushing on the window, pushing it into place. You can see him sticking his leg out there a couple of times. We were on the inside pulling it in as Daniel was running around screwing the window into the framing of the home.
All right, so there you have it. Big old giant window. Jump frame, as you can see. The existing frame right here. Silver aluminum. And here, we have we've jumped it. We've got quite a few screws holding this thing in. So that's the Z-bar stucco install.
And again, after we're all said and done, we'll come and put some flat trim pieces over this to hide everything, make it look nice. So there it is installed, and these are the bronze painted exterior here. This one we just put in. It's in shade so you can kind of see the color, and this one over here, it's in the sun, so it's a nice idea of the colors.
[SIDE CONVERSATION]
Well, yeah, so that covers the Z-bar installation method for the Milgard windows indoors. If you have any questions, feel free to leave a comment on this video. If you enjoyed the content, please give us a like or subscribe. Thanks for watching.


